
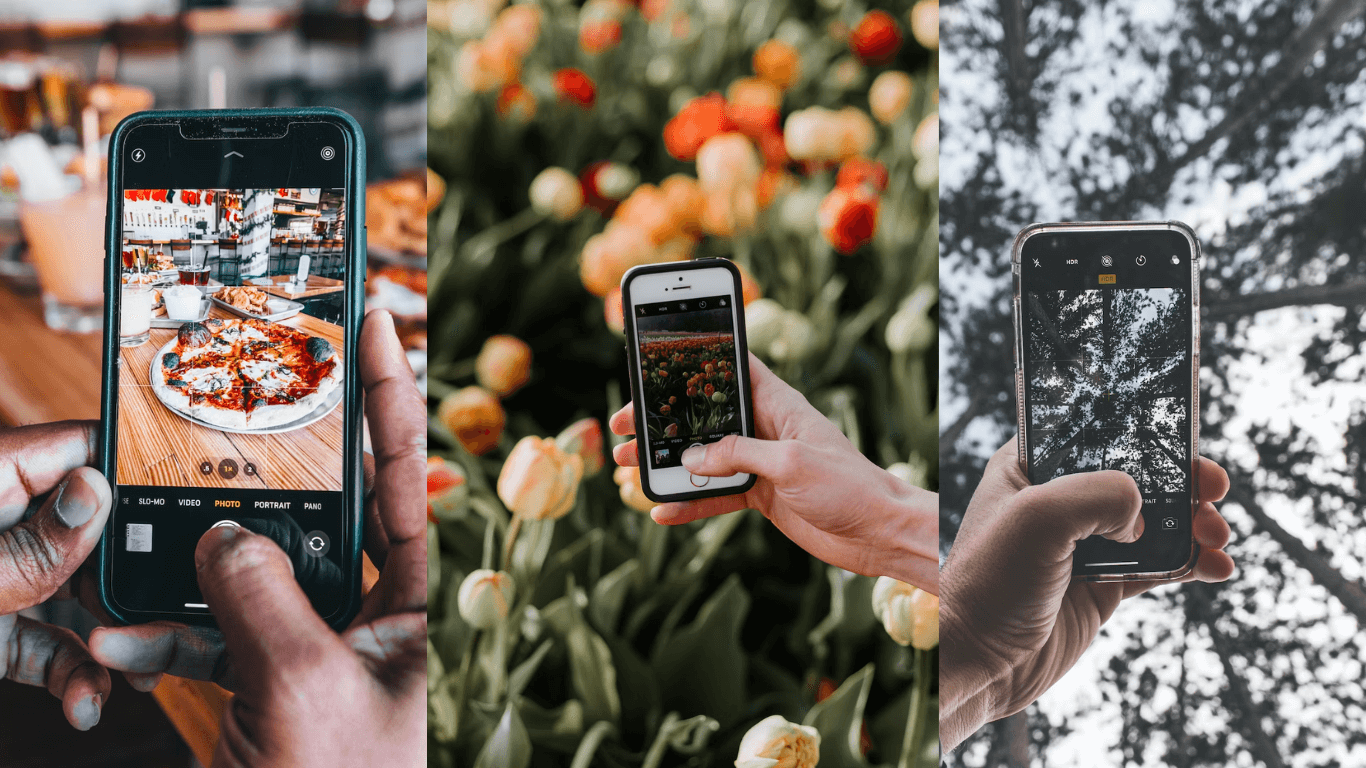
As an iPhone owner, you’re surely aware that it has a camera capable of producing stunning images. However, simply owning a nice camera is insufficient, you must also understand how to utilize it properly in order to capture those perfect moments.
In this blog post, I’ll provide some tips and A Guide on How to Take Good Pictures with iPhone in 2023. I’ll cover everything you need to know to create amazing photos with your iPhone, from basic photography techniques to sophisticated capability
Understanding the basic of photography
Lighting is another crucial aspect of photography. Good lighting can significantly improve the overall quality of your photographs. Avoid strong or direct sunlight while taking images with your iPhone, as this might result in unsightly shadows and highlights. Instead, search for soft, diffused light, such as during the golden hour (the hour before or following sunrise) or on a cloudy day.
Aside from composition and lighting, exposure is an important aspect of photography. The amount of light that penetrates the camera sensor influences the brightness and contrast of your photo.
Finally, it’s critical to maintain your camera stable when taking images with your iPhone. A fuzzy shot might result from even the slightest movement. To keep your camera steady, try holding it with two hands or propping it up on a firm surface.
You can start shooting better photos right away if you grasp the fundamentals of photography and how to alter them on your iPhone. Remember that practice makes perfect, so don’t be hesitant to try out various settings and strategies until you find what works best for you.
*Interested in customizing your home screen be sure to check out – Customize your homescreen on iOS: A Beginner’s Guide
Adjusting exposure to your phone
Changing the exposure on your iPhone can significantly improve the brightness and contrast of your images. To manually modify the exposure, tap on the area of the screen where you wish to set the focus, then swipe up or down to adjust the exposure level.
If you’re not confident in your abilities to manually change the exposure, you can utilize a method to help your iPhone’s camera get the exposure right. Simply tap and hold on the area of the screen where you wish to set the focus, and the camera will automatically adjust the exposure. After you’ve set the focus and exposure, you can manually modify the exposure level if necessary.
In addition to changing the exposure, you may boost the quality of your images by using the HDR (High Dynamic Range) feature on your iPhone. HDR works by taking numerous images at different exposures and then merging them to create a single image with more detail in both the bright and dark portions of the photo.
To enable HDR, go to your iPhone’s camera settings and tap “HDR.” You can have the camera switch on HDR automatically as needed, or you can turn it on manually. Remember that while HDR can make your images look more bright and lively, it can also make them appear over-processed if used excessively.
Unlock HDR Mode on iphone
It’s important to remember that HDR mode works best for static situations with a high dynamic range, such as landscapes or still-life images. When photographing a moving subject, HDR mode may not be the ideal option because it can produce blurry shots.
When you take a shot in HDR mode, your iPhone actually takes three independent photographs at different exposures and then merges them into one image. This process can take a few seconds, so keep your camera steady and in place until the process is finished.
Finally, take in mind that HDR mode is not always the best option. For example, if you’re photographing a subject in a well-lit setting with limited contrast, you might not need to employ HDR mode at all. Experiment with different settings and strategies to find out what works best for each situation.
Shooting in low light
Shooting in low light is one of the most difficult aspects of smartphone photography. The iPhone camera, on the other hand, includes a few capabilities that can help you take better images in low-light situations.
To begin, use the Night mode option, which detects low light and extends the exposure duration to catch more light. You can also manually change the ISO and shutter speed to achieve better results.
How to use portrait mode
A critical part of portrait mode is selecting the appropriate background. Portrait mode works by blurring the background while keeping the subject in fine focus utilizing clever algorithms. This effect can produce a lovely bokeh effect and make your subject stand out, but it’s critical to select a background that supports your subject rather than distracts from it.
When selecting a background, go for something simple and uncomplicated. A simple wall, a natural environment, or a solid-colored background can all be effective. Avoid busy or distracting backdrops, such as a cluttered room or a busy street, as these can detract from the portrait’s overall impact.
Keep in mind that portrait mode is only one tool in your photography arsenal. While it can help you make gorgeous portraits, it is not always the ideal solution. Experiment with various settings and tactics to see what works best for each subject and situation, and don’t be hesitant to attempt new things or take chances.
Portrait mode on your iPhone can help you make stunning, professional-looking portraits, but you must pay attention to composition, lighting, and background when utilizing this feature. Experiment with different settings and strategies to see what works best for you and your participants.
Editing your photos
After you’ve shot your images, it’s time to edit them to maximize their potential. Fortunately, the iPhone’s native photographs app has a variety of editing features that make it simple to enhance and professionalize your photographs.
The “Adjust” tool in the photographs app is one of the most powerful editing tools available, allowing you to fine-tune the exposure, contrast, highlights, and shadows of your photographs. Simply open the photo you want to alter and select the “Edit” button in the top right corner of the screen to access this tool. From there, you may alter each parameter by swiping left or right and seeing the changes in real-time.
The “Crop” tool is another essential editing tool that allows you to crop your images to remove unwanted objects and focus on the subject. To use this tool, hit the “Crop” button in the bottom left corner of the screen and then drag the frame’s edges to modify the crop. You may also use the gridlines to help you align and level your shot.
If you want to be more creative with your edits, the photographs app includes a choice of filters that can add various effects to your photographs. Simply hit the “Filters” button in the bottom right corner of the screen and slide left or right to select a filter.
Finally, if you want to take your editing to the next level, a variety of third-party programs are available that provide even more extensive editing tools and capabilities. Adobe Lightroom, VSCO, and Snapseed are among popular choices.
Final Thoughts
Alright let’s get this clear, the iPhone is a powerful tool for capturing beautiful photos, and you can take your iPhone photography to the next level by understanding the basics of photography, adjusting the exposure, using HDR mode, experimenting with different compositions, using portrait mode, and editing your photos.
Thanks for reading the article all the way though I hope you found some tips and tricks on A Guide on How to Take Good Pictures with iPhone in 2023. Get out there and start taking photos.
Keep in mind that photography is an art form, and there are no hard and fast rules for getting the perfect snap. Experiment with various settings, approaches, and angles to see what works best for each subject and situation, and don’t be hesitant to take chances and try new things.
[…] Related Article – Unleash Your Inner Photographer: Capture Jaw-Dropping Masterpieces with These iPhone Photography Sec… […]