

Welcome to the world of smartphone photography! If you’re reading this, you’re probably the proud owner of a Samsung smartphone and you’re eager to explore its camera capabilities. You’ve come to the right place. In this guide, we’ll walk you through how to take good photos with samsung, even if you’re a complete beginner.
Photography is not just about capturing moments, it’s about telling stories. With your Samsung smartphone, you have a powerful storytelling tool right in your pocket. Whether you’re capturing a breathtaking sunset, a candid moment of joy, or a stunning cityscape, your Samsung device can help you do it beautifully. In this guide, we will demystify the process of taking great photos with your Samsung smartphone.
We’ll cover everything from understanding your camera’s capabilities, mastering the art of lighting, framing your shots, exploring camera modes, to editing your photos and creating your own filters. So, whether you’re a novice who’s just starting out or an experienced photographer looking to make the most of your Samsung device, this guide is for you.
Let’s dive in and start capturing those picture-perfect moments!
Understanding Your Samsung Camera
Every Samsung smartphone comes packed with a professional-grade camera, exceptional camera modes, and cutting-edge editing software. Whether you’re using the latest Galaxy S23 Ultra with its 200-megapixel camera or an older model, there’s a wealth of photographic potential at your fingertips.
The first step to taking great photos is understanding what your camera can do. So, spend some time exploring the different modes and settings on your device. Samsung’s camera technology is designed to mimic the complexity and versatility of a DSLR camera, all within the compact form of a smartphone. It’s equipped with features like high-resolution sensors, optical zoom lenses, and advanced image processing algorithms.
Your Samsung camera comes with a variety of modes such as panorama, slow motion, hyperlapse, and professional mode, each designed for specific types of photography. For instance, the professional mode allows you to manually adjust settings such as ISO, shutter speed, and exposure level, giving you complete control over your photography. Moreover, Samsung smartphones are equipped with AI technology that can recognize different scenes and automatically adjust the camera settings for optimal results.
For example, if you’re taking a picture of a sunset, the AI can recognize the scene and adjust the color balance and exposure to capture the vibrant colors of the sunset
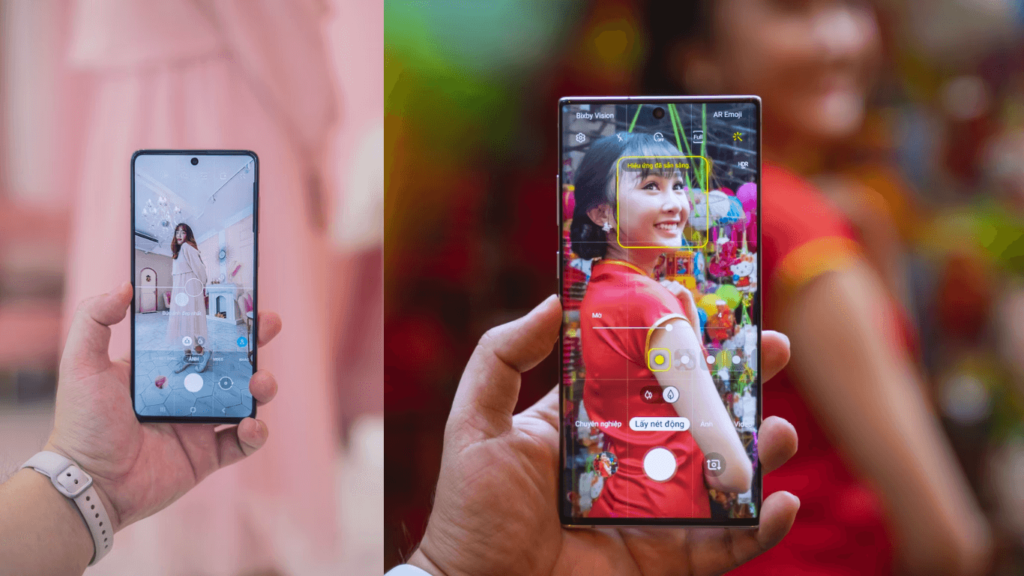
In addition to the rear camera, your Samsung smartphone also features a front camera for selfies. This camera often includes features like portrait mode for blurred backgrounds and wide-angle mode for group selfies. Understanding these features and how to use them effectively is key to taking good photos with your Samsung smartphone.
So, take the time to familiarize yourself with your camera’s capabilities and experiment with different settings and modes. The more you understand your camera, the better your photos will be.
Mastering the Art of Lighting
Lighting is a crucial element in photography. It impacts the mood, tone, and atmosphere of your photo. The more natural light, the better. But remember, even artificial light can create stunning effects if used correctly.
Experiment with different light sources and observe how they change the look and feel of your photos. Understanding how to use light effectively can dramatically improve your photos. Here are a few tips to help you master the art of lighting:
- Use Natural Light: Whenever possible, use natural light. It provides the best color accuracy and can help to create beautiful, vibrant images. Try to take photos during the golden hours (shortly after sunrise or before sunset) when the light is soft and warm.
- Avoid Harsh Shadows: Direct sunlight can create harsh shadows and overexposed highlights. If you’re shooting in bright sunlight, try to find a shaded area or use a diffuser to soften the light.
- Understand White Balance: Your Samsung smartphone camera automatically adjusts the white balance to make the colors in your photos as accurate as possible. However, in certain lighting conditions, you may need to manually adjust the white balance to get the best results.
- Use Flash Wisely: The flash on your Samsung smartphone can be useful in low-light situations, but it can also create harsh shadows and wash out colors. Use it sparingly and only when necessary.
- Experiment with Artificial Light: Don’t be afraid to experiment with artificial light sources like lamps, neon signs, or even your phone’s screen. They can add interesting colors and effects to your photos.
Remember, good lighting is often the difference between an average photo and a great one. So, take the time to understand and experiment with different lighting conditions. With practice, you’ll learn how to use light to create stunning photos with your Samsung smartphone.
Related Article – How to take raw light photos in 2023
Framing and Balancing Your Shots
Artfully framed shots are one of the easiest ways of creating sensational photos. Use the rule of thirds to balance your shots. You can turn on gridlines in your Samsung camera settings to help with this. Also, don’t be afraid to play with different perspectives. Sometimes, the most captivating photos come from the most unexpected angles.
Framing and balancing your shots is all about understanding composition. Here are some additional tips to help you master this essential photography skill:
- Rule of Thirds: This is a basic principle of photography where you divide your frame into a 3×3 grid. The idea is to place the important elements of your scene along these lines or at the intersections. This creates more balanced and engaging photos.
- Leading Lines: Use natural lines in your scene, like roads, fences, or rivers, to lead the viewer’s eye into the image. This can create a sense of depth and make your photo more interesting.
- Symmetry and Patterns: Symmetrical scenes can be very pleasing to the eye, and patterns can create a sense of rhythm and harmony. Look for these elements in your environment and use them to your advantage.
- Framing: Use natural frames like windows, arches, or tree branches to highlight your subject. This can add depth to your photo and draw the viewer’s attention to your subject.
- Fill the Frame: If your subject is small or detailed, don’t be afraid to get close and fill the frame. This can eliminate distracting backgrounds and make your subject stand out.
- Backgrounds: Pay attention to what’s behind your subject. A cluttered or distracting background can take away from your subject. Try to position your subject against a simple and unobtrusive background.
Remember, these are just guidelines, not hard and fast rules. The most important thing is to experiment and find what works best for you. With practice, you’ll develop an eye for composition and be able to frame and balance your shots like a pro.
Related Article – 5 tips to make your photos turn out great!
Exploring Camera Modes
Your Samsung smartphone comes loaded with multiple camera modes. From the Single Take feature that captures up to 10 photos and four videos at once to the Night Mode for luminous night time shots, there’s a mode for every situation. Don’t forget to try out the Space Zoom technology for those far-off subjects!
Let’s delve deeper into some of these modes and how you can use them to enhance your photography:
- Single Take Mode: This mode is perfect for capturing dynamic scenes. When you press the shutter button, your phone will take a series of photos and videos, giving you a variety of shots to choose from. It’s like having a personal photographer at your fingertips!
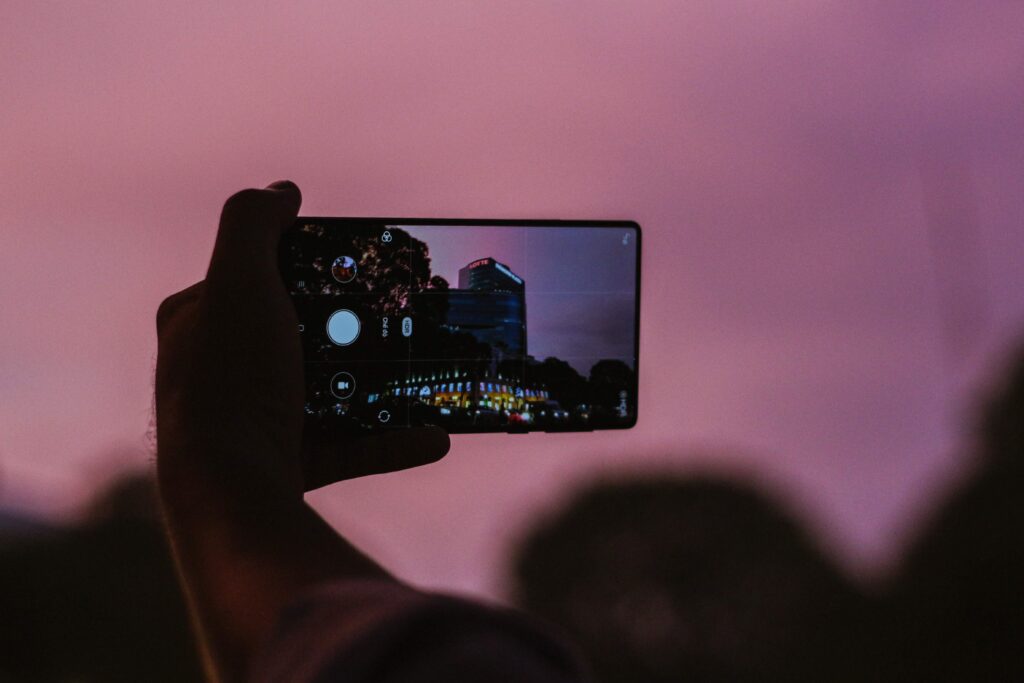
- Night Mode: Don’t let low light conditions stop you from taking great photos. Night Mode uses advanced processing techniques to brighten your photos and reduce noise. It’s perfect for capturing cityscapes at night or indoor scenes with limited light.
- Pro Mode: Want more control over your photography? Pro Mode allows you to manually adjust settings like ISO, shutter speed, and white balance. It’s great for experienced photographers who want to fine-tune their shots.
- Portrait Mode: This mode blurs the background of your photos, making your subject stand out. It’s perfect for taking photos of people or objects.
- Space Zoom: Available on certain models like the Galaxy S23 Ultra, Space Zoom allows you to zoom in on far-off subjects without losing detail. It’s great for capturing wildlife or distant landmarks.
- Super Steady Mode: This mode stabilizes your videos, making them smoother and more professional-looking. It’s perfect for capturing action shots or filming while on the move.
Remember, the best way to learn about these modes is to try them out for yourself. So, don’t be afraid to experiment and see what each mode can do. Happy shooting!Remember, the best way to learn about these modes is to try them out for yourself. So, don’t be afraid to experiment and see what each mode can do. Happy shooting!
Editing Your Photos
Once you’ve captured your photo, it’s time to give it some touch-ups. Your Samsung device offers basic editing tools in the Gallery app and Google Photos. For more advanced edits, consider using apps like Adobe Lightroom. Remember, editing is an art in itself. Take your time to learn and experiment with different tools and effects.
Editing your photos can enhance their appeal and correct any minor issues that weren’t addressed during the shooting process. Here are some tips to help you get started with editing:
- Crop and Straighten: Use the crop tool to remove any unwanted elements from your photo and focus on your subject. The straighten tool can be used to ensure your horizons are level.
- Adjust Brightness and Contrast: Brightness controls the overall lightness or darkness of your image. Contrast controls the difference between the darkest and lightest elements. Adjusting these can help your image pop.
- Play with Colors: Adjust the saturation to make the colors in your photo more vibrant or more subdued. You can also adjust the warmth to make your photo feel cooler (bluer) or warmer (more orange).
- Use Filters: Filters can add a unique look and feel to your photos. They can be a fun way to experiment with different styles. Remember, less is often more when it comes to using filters.
- Sharpen Your Image: If your photo is slightly blurry, you can use the sharpen tool to make it clearer. Be careful not to overdo it, as too much sharpening can make your photo look unnatural.
- Remove Unwanted Elements: Some apps, like Adobe Photoshop Express, offer tools that can remove unwanted elements from your photo, like blemishes or distracting objects.
Remember, the goal of editing is not to completely change your photo, but to enhance its best features. So, take your time, experiment with different tools, and most importantly, have fun with the process!
Final Thoughts
With your Samsung smartphone in hand and these tips in mind, you’re well on your way to capturing stunning photos. Remember, the best way to improve your photography skills is by practicing. So, get out there and start shooting. Happy photographing!
For more tips and tricks on making the most of your tech, be sure to check out our other guides at Averguytech. Whether you’re looking to master your smartphone camera, learn about the latest tech trends, or find the perfect gadget, Averguytech is your go-to resource for all things tech. Remember, photography is a journey. Thanks for reading how to take good photos with samsung be sure to check out for more helpful content.
Each photo you take is a chance to learn and grow as a photographer.
So, keep exploring, keep learning, and most importantly, keep capturing the world around you with your Samsung smartphone. Happy shooting!
[…] Related Article – How to take stunning photos with your Samsung […]