

Welcome to your comprehensive guide on how to connect apple airpods to laptop. In the era of remote work and digital entertainment, having a reliable pair of wireless earbuds is more important than ever. Whether you’re tuning into a crucial business meeting, catching up on your favorite podcast, or immersing yourself in a cinematic masterpiece, Apple AirPods can elevate your audio experience to new heights.
But to reap these benefits, you first need to know how to connect your AirPods to your laptop. This might seem daunting, especially if you’re new to the world of Apple or haven’t used Bluetooth devices much in the past. But don’t worry, that’s where this guide comes in. In this beginner-friendly guide, we’ll demystify the process, breaking it down into simple, easy-to-follow steps.
We’ll cover everything from preparing your laptop for connection, to troubleshooting common issues, to maximizing your AirPods experience. By the end of this guide, you’ll not only know how to connect your AirPods to your laptop, but you’ll also understand how to get the most out of this powerful audio tool.
Understanding Your Apple AirPods
Apple AirPods are more than just a pair of wireless earbuds. They are a testament to Apple’s commitment to seamless design and superior functionality. Before we delve into the process of connecting them to your laptop, let’s take a moment to understand what makes these earbuds so special.
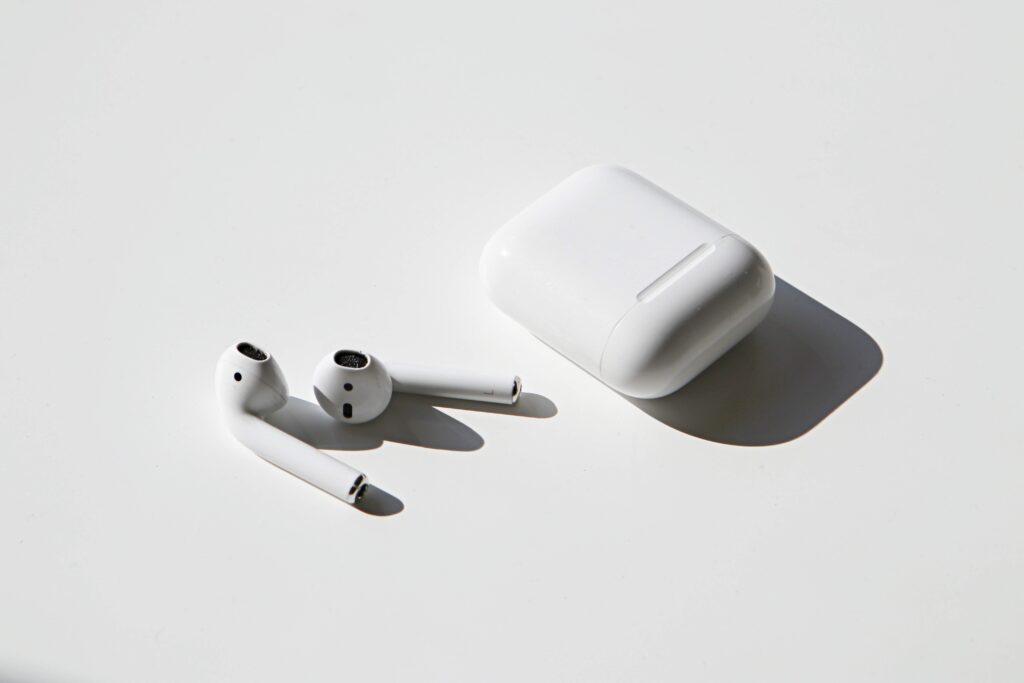
Design and Features – AirPods sport a sleek, minimalist design that’s become synonymous with Apple products. They are compact, lightweight, and designed to fit comfortably in a wide range of ear shapes and sizes. But their beauty isn’t just skin deep.
Inside each AirPod are a host of features that make them a standout choice in the world of wireless audio. One of the key features of AirPods is their seamless integration with Apple devices, thanks to the custom-designed Apple W1 or H1 chip (depending on the model).
This chip allows for faster and more stable wireless connections, not just with your iPhone, but with any device in the Apple ecosystem, including your laptop.
Sound Quality – When it comes to sound quality, AirPods deliver. They offer rich, high-quality AAC audio. And while they might not rival high-end over-ear headphones, for earbuds of their size, they pack a punch. Whether you’re listening to music, taking a call, or watching a movie, you can expect clear and consistent audio.
Battery Life and Charging – AirPods offer impressive battery life. A single charge can give you up to 5 hours of listening time, and with multiple charges from the charging case, you can get over 24 hours of total listening time. The case itself is easy to charge via a Lightning connector, and if you have the AirPods Wireless Charging Case or the AirPods Pro, you can also use a Qi-compatible charging mat.
Additional Features – AirPods also come with a few additional features that make them even more user-friendly. For instance, they can automatically pause audio when you take one out of your ear. They also support Siri, Apple’s voice assistant, allowing you to control your audio, make calls, get directions, and more, all without lifting a finger.
Now that you have a better understanding of your AirPods, let’s move on to how you can connect them to your laptop.
Related Article – How to have a stylish home on your new iphone
Connecting your airpods to laptop
Connecting your Apple AirPods to your laptop is a straightforward process, thanks to Apple’s emphasis on user-friendly design. Whether you’re using a Mac or a Windows laptop, we’ve got you covered. Let’s break down the process step by step.
Connecting AirPods to a Mac
If you’re using a Mac, the process is incredibly simple, especially if you’re already using your AirPods with an iPhone that’s signed in to iCloud with the same Apple ID.
- Check Your Software: Ensure that your devices are up to date. Your Mac should be running macOS Sierra or later, and your iPhone should be running iOS 10 or later.
- Open Bluetooth Preferences: On your Mac, go to the Apple menu > System Preferences, then click Bluetooth.
- Open Your AirPods Case: With your AirPods in the charging case, open the lid. You should see your AirPods appear in the devices list in the Bluetooth preferences window.
- Connect: Click the Connect button next to your AirPods in the Bluetooth preferences window.
And that’s it! Your AirPods should now be connected to your Mac. If you’re signed in to iCloud, your AirPods will automatically be set up with any of your other devices that are signed in to iCloud with the same Apple ID.
Connecting AirPods to a Windows Laptop
If you’re using a Windows laptop, the process is slightly different, but still quite simple.
- Open Bluetooth Settings: On your laptop, click on the Start button, then go to Settings > Devices > Bluetooth & other devices.
- Enable Bluetooth: Make sure Bluetooth is turned on. You should see a button that says “Add Bluetooth or other device.”
- Open Your AirPods Case: With your AirPods in the charging case, open the lid. Press and hold the setup button on the back of the case until the status light starts flashing white.
- Add Device: Back on your laptop, click on “Add Bluetooth or other device”, then click on “Bluetooth”. Your AirPods should appear in the list of devices. Click on your AirPods and then click “Done”.
Congratulations! Your AirPods should now be connected to your Windows laptop.
Remember, your AirPods will connect to the active device that’s playing audio. If you start playing music on your iPhone, your AirPods will automatically switch to your iPhone. If you want to use your AirPods with your laptop again, you’ll need to select them as your audio output device.
Maximizing Your AirPods Experience
Now that you’ve successfully connected your AirPods to your laptop, it’s time to explore some features and tips that can help you maximize your AirPods experience. From customizing settings to understanding how to maintain your AirPods, this section will help you get the most out of your wireless audio companion.
Customizing Your AirPods Settings
Did you know you can customize your AirPods’ settings for a more personalized experience? Here’s how:
For Mac Users:
- Go to System Preferences > Bluetooth.
- Find your AirPods on the list and click the Options button next to them.
- Here, you can set what happens when you double-tap an AirPod, choose when to use the microphone in either AirPod, and select whether sound is optimized for voice or balanced for all frequencies.
For Windows Users:
While Windows doesn’t offer as many customization options as macOS, you can still adjust the volume balance if you prefer one earbud to be louder than the other. Go to Settings > System > Sound > App volume and device preferences to adjust these settings.
Using Siri with Your AirPods
If you’re using AirPods with a Mac, you can use Siri to control your music, ask questions, make calls, and more. Simply say “Hey Siri,” followed by your command. If you’re using a Windows laptop, you won’t be able to use Siri, but you can use your laptop’s native voice assistant instead.
Keeping Your AirPods Clean
To ensure the longevity and optimal performance of your AirPods, it’s important to keep them clean. Use a soft, dry, lint-free cloth to clean the earbuds and the charging case. Avoid getting moisture in any openings, and don’t use aerosol sprays, solvents, or abrasives.
Understanding Battery Life
As mentioned earlier, AirPods offer up to 5 hours of listening time on one charge. If you charge your AirPods for 15 minutes in their case, you can get up to 3 hours of listening time. Keep an eye on the battery level by checking the Battery widget on your laptop.
By understanding and utilizing these features and tips, you can truly maximize your AirPods experience. Enjoy the freedom of wireless audio and the high-quality sound that Apple AirPods offer. In the next section, we’ll cover some common issues you might encounter and how to troubleshoot them.

Final Thoughts
By now, you should be a pro at how to connect apple airpods to laptop. Remember, practice makes perfect, and with a bit of patience, you’ll be enjoying wireless audio in no time.
Whether you’re using your AirPods for work, entertainment, or staying connected with loved ones, they’re a fantastic tool that combines convenience, style, and Apple’s signature quality. And now, you have the knowledge to make the most of them.
If you’re interested in more tech tips and guides, be sure to check out our other articles at AverageGuyTech. From the latest gadget reviews to in-depth tutorials like this one, we’re here to help you navigate the world of technology with ease. Remember, technology is here to make our lives easier and more connected.
So, put on your AirPods, select your favorite playlist or podcast, and enjoy the seamless experience that Apple has designed for you. Happy listening!